Last year I finally figured out how to create my own brushes, which changed the way I do so many things. I will be explaining how to do this today, but as part of the lesson, I am going to explain how to create your own signature stamp. I am going to assume for times sake that you know how to do the basics in Photoshop, such as create a new project and entering text.
Open your new project, you can make the dimensions as big or large as you like, but I'd keep it within the screen so you can view it easily. Mine is 500 x 300 pixels. I am first going to do a simple "Signature". (I won't use my real signature as I don't want everyone on the world wide web to know how to sign my name.)
Type in the text you like, color doesn't matter, but font does. Choose the font and the size of the font you like and enter the appropriate size. Mine looks like this:
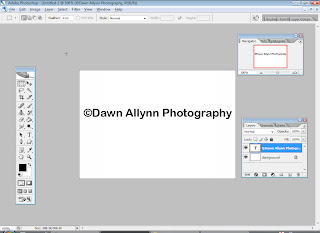
I used Ariel Rounded MT Bold and 36 for the font size. (If you make your signature too small it looks bad when you resize it, but you can make it smaller to some degree and it retains it's original look.)
Flatten your image and select the signature. (Keep the selection edges as close to the text as possible so as not to get too much background.) Then go to Edit> Define Brush Preset> and Type in a name for your new brush.
This will create a brush in the current brush set you are using. You can view the brush by open the paintbrush tool and scrolling to the bottom. I have a blank paintbrush tool set I use just for saving new brushes in.
You can create your own by deleting all the brushes in a set . Open the brush set and right click and tell it to delete, but make sure when you are finished you save it as a new brush set. Click the arrow at the top right hand corner of the Master Diameter tool and select Save Brushes. (see below)
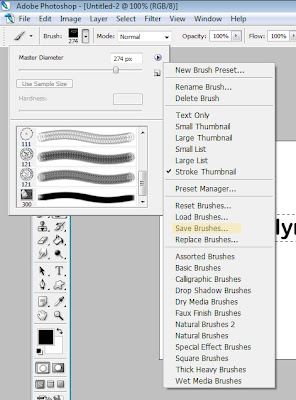
Name it something new and easy to remember. I called mine "Dawn's Signature Set".
If you choose another brush set, you will not see the new signature set until you close and reopen Photoshop. If you do not save the new brush set before you close Photoshop you will lose your new signature brush.
I like to make an assortment of brushes for my signatures. Some plain, some fancy. Different sigs for different moods. One of my newer and more favorite signatures started with this:
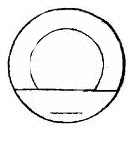
You can copy and save that image if you'd like to create your own with it. I entered my own name and the year, with a little symbol in the center and I got this:
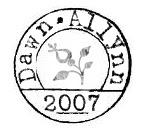
The font I used for this was Batik Regular, because I wanted that weathered look. (stamps don't have much crispness about them normally.) You can achieve the rotated font by a number of means, but I personally added each letter individually and used the Edit> Transform> Rotate tool to make each letter fit because I am picky that way.
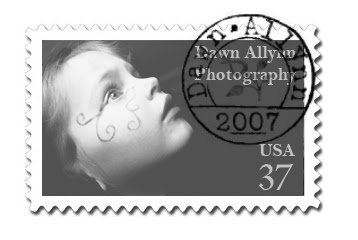
Once saved you can do a number of things with your new brush or signature. I made a second stamp, this time with a postage stamp theme, and came up with this, that I intend on using as an email signature:
 I don't know how clear this tutorial is, if you have questions, feel free to post them below and I'll try and make as much sense as possible. :) Hope you have fun with this!

No comments:
Post a Comment